
Do you want to learn simple tweaks to take a basic timeline in Microsoft Word from dull to stunning?
The good news is, you don’t need to be an expert in graphic design or contribute extra hours to get the professional timelines you want! With these small changes, you’ll create an eye-catching, custom timeline from scratch that’ll have your coworkers begging for your timeline template!
We’ll walk through not one but two tutorials: creating a basic timeline with SmartArt and with tables. (Because we have to have options!)
This Article Contains:Summarize this article with AI ClickUp Brain not only saves you precious time by instantly summarizing articles, it also leverages AI to connect your tasks, docs, people, and more, streamlining your workflow like never before. Summarize article
Summarize this article for me please
One of the most recognized project management tools is the timeline: a chart to help people visualize deadlines, statistics, events, or milestones in chronological order. Project timelines can be simple or packed with details to demonstrate a time period for a given project. There’s no correct answer to the question of what should or shouldn’t be on a timeline—every company, every industry is different. So instead, ask yourself: What is the most critical information my audience should take away from this timeline? 👉 Check out this guide to explore the elements of a project timeline further. While you’ve most likely built a timeline in Microsoft Word back in your early career days, there’s a good chance you’ve had to plug your way through a heap of unnecessary functions. 😮💨 We know this feeling all too well. Thankfully, there’s an excellent project management tool that not only creates timelines but skyrockets productivity and planning. We’ll get to that later. 🤓
Summarize this article with AI ClickUp Brain not only saves you precious time by instantly summarizing articles, it also leverages AI to connect your tasks, docs, people, and more, streamlining your workflow like never before. Summarize article
Summarize this article for me pleaseSmartArt Graphics are a diverse set of timeline layouts (or illustrations) available in Word, Excel, PowerPoint, and Outlook, providing different ways to display concepts or data. Since we need a SmartArt graphic to represent sequential information, we’ll use the Process timeline layout (steps in a process or timeline). With a few simple tweaks, your timeline will:
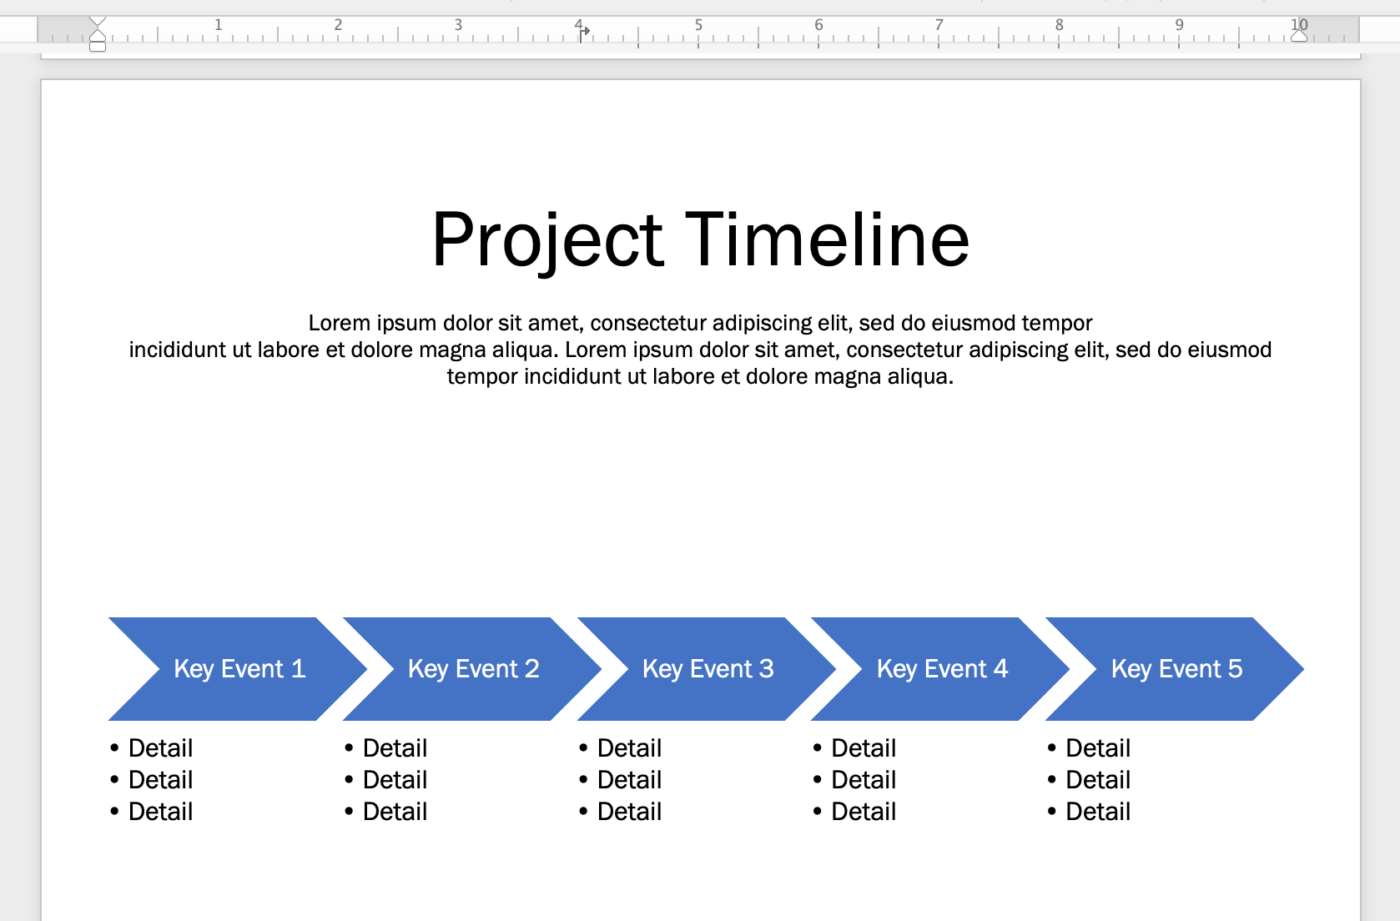
Go from this…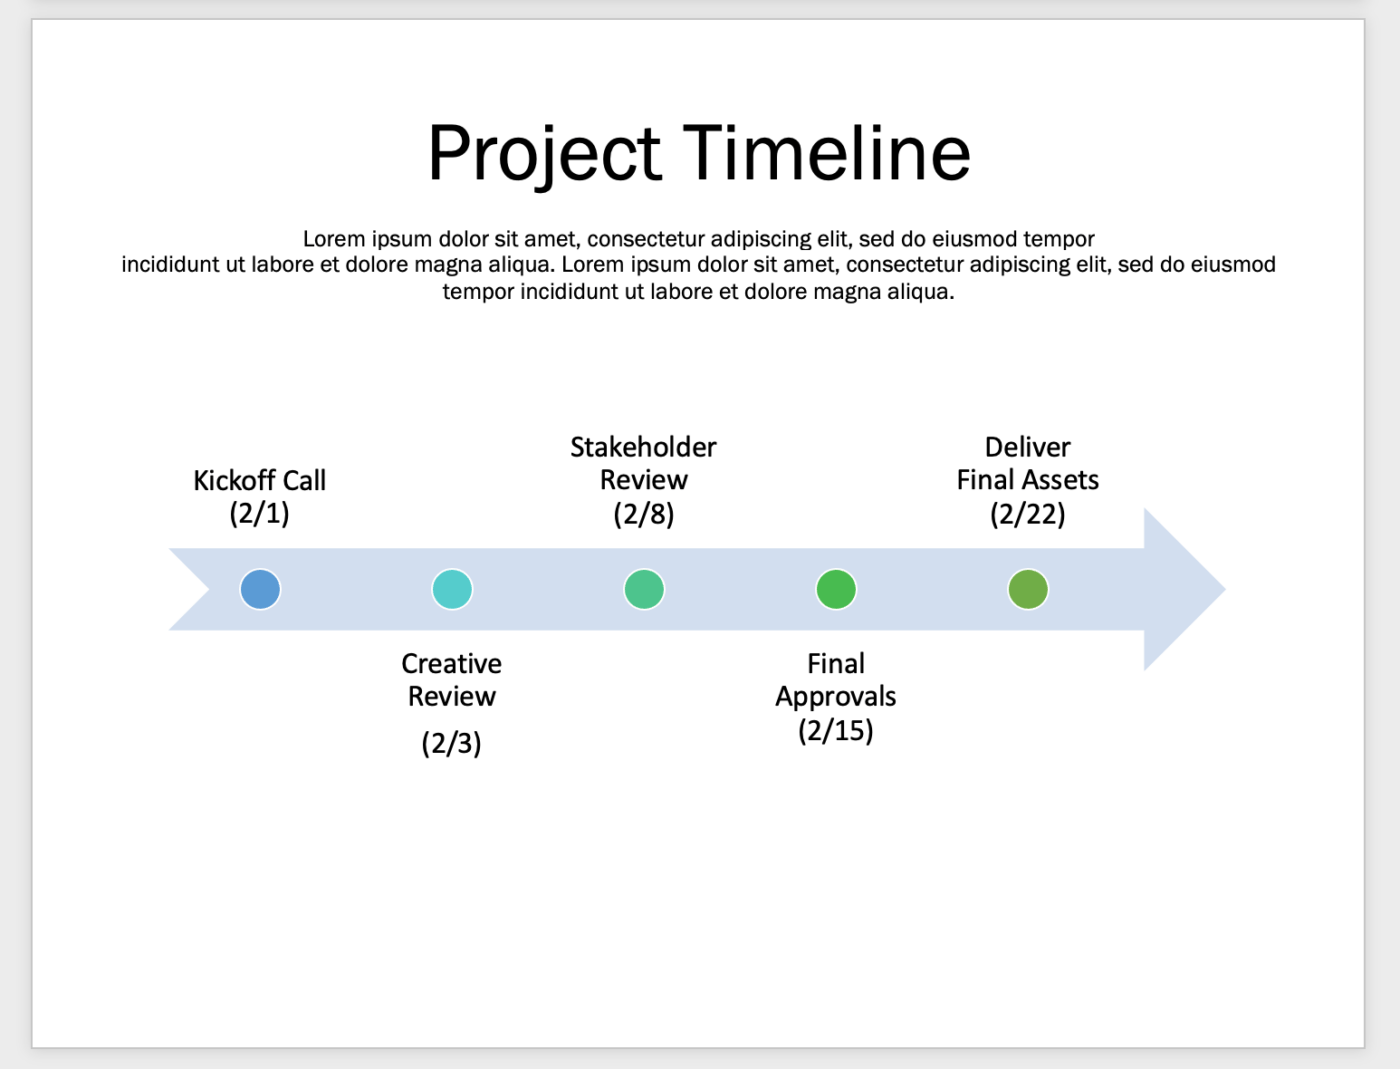

Note: In this tutorial, we use Microsoft Word for Mac Version 16.54. The steps and features may look different if you’re on another platform or version.

3. Use the SmartArt Text Pane dialog box to add your key information. Press the Return key to add more text fields for key information and Shift to create a bullet point for details underneath the key information
Tip: If you can’t see the SmartArt Text Pane, go to the toolbar, and under the SmartArt Design tab, select Text Pane
4. Change the font by selecting the entire table, then go to the Home tab and change your Font Type and Font Size. In this example, we’re using the Franklin Gothic Book font and size 16
At this point, you have a standard timeline that could be considered “done,” but it’s screaming for color. 🎨
Here is a palette we created just for you to design cohesive and professional visual charts and graphs. Remember, you don’t need to be a graphic designer to create gorgeous patterns… you just need to know someone who knows someone. 😉
Below is an actual designer-approved color palette you can save to your desktop! ⬇️

So how do we use this color palette?
3. Repeat this step for the other Key Events and bulleted lists
Optional: For consistency, change the font color of the bulleted list from Black to White to match the Key Events text color.
Now for the final touch: emojis! 🎉🎉🎉
Emojis add a fun personality to non-verbal communication. If you don’t have any images or icons to add that extra oomph to your timeline document, use emojis! Here’s how:
Are your boxes out of alignment? Here’s another tip: hold the Shift key and click to select the text boxes. Then, under the Shape Format tab > Arrange > Align > Align Middle > use the arrow keys to move all the newly aligned boxes towards your desired location.
Friend, you did it! 🎊💃
Save this as a timeline template for Future You:

Summarize this article with AI ClickUp Brain not only saves you precious time by instantly summarizing articles, it also leverages AI to connect your tasks, docs, people, and more, streamlining your workflow like never before. Summarize article